How to Cook in Hell's Kitchen 3
Station-by-station timing, multitasking, accuracy, and surviving Ramsay.
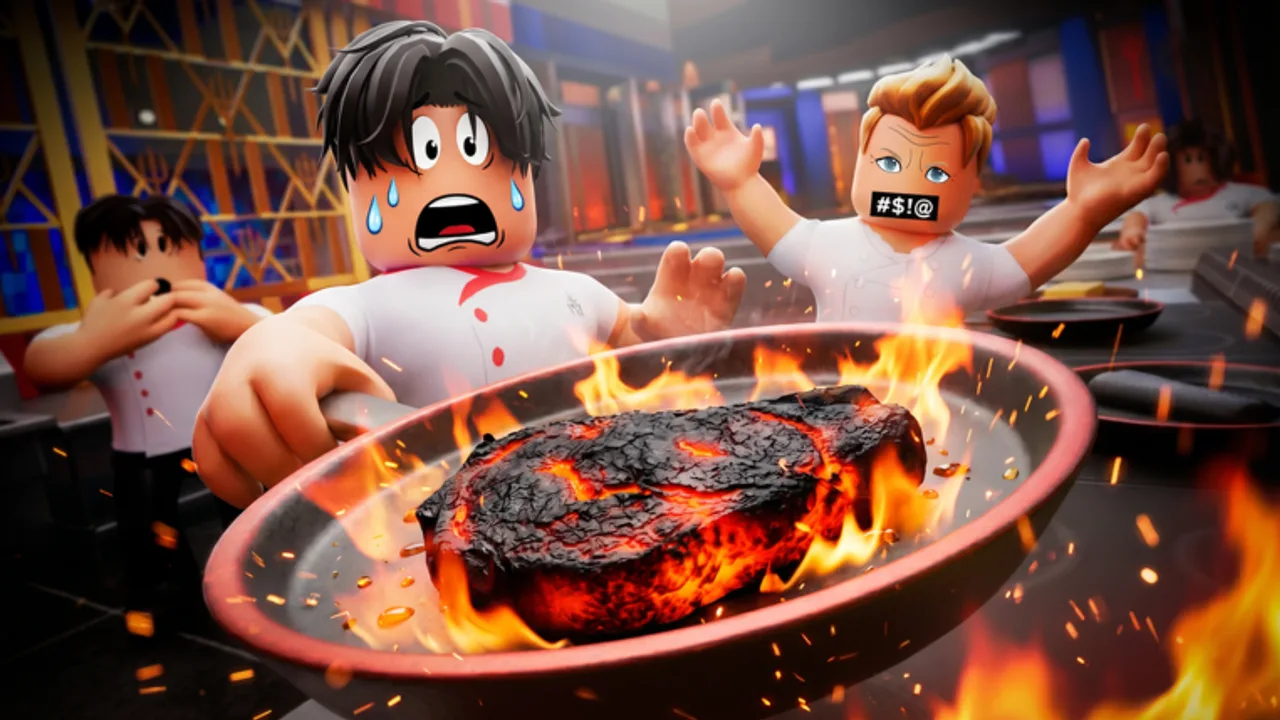
Cooking is the entire skill ceiling of Hell’s Kitchen 3. Teams lose on averages, but individuals get nominated when their plates are raw, burnt, incomplete, or late. This guide walks every kitchen task, the timing meters that decide quality, and how to multitask without torching proteins. Pair it with Getting Started for lobby flow, How to Win for votes, and Wildcard Rounds when fires or Imposters break your route.
Read the ticket before you sprint
Every dish is a checklist. The HUD highlights required ingredients and stations in order. Do not invent a route: open the ticket, note Pantry versus Fridge items, count chop targets, and spot whether you need Mix, Blend, Oven, Boil, or Fry. Dinner service stacks tickets—finish one plate’s irreversible cooks before starting three more burns you cannot babysit.
Pre-service usually assigns a single dish under a tight clock. Speed can outweigh perfect plating early; dinner service punishes quality harder because multiple customers and team averages stack. Learn both tempos.
Pantry
The Pantry is dry storage. Walk in, grab only the highlighted ingredients, and leave. Hovering wastes the clock. As you collect the last pantry item, already face the Fridge or Chop boards so the next interact is one step away. On crowded Red or Blue lines, call “pantry clear” if teammates are blocking the door.
Pro habit: memorize which recipes are pantry-heavy versus fridge-heavy so you path the shorter first leg without backtracking across the pass.
Fridge
Open the refrigerator, take highlighted proteins, dairy, and produce, then close your interaction cleanly so the next chef is not stuck in the UI. Fridge congestion is a silent score killer—grab your icons and move. If two chefs need the same shelf, stagger by a second rather than wrestling the prompt.
After Fridge, most tickets send you to Chop. Start walking while the UI closes.
Chop
Place each ingredient on the cutting board one at a time. Chop by driving the meter with mouse movement (or the mobile drag equivalent)—typically an up-and-down stroke while holding the interact input. Incomplete chops leave chunks that tank accuracy. Do not walk away mid-chop; finish the stroke, collect the cut item, then load the next.
When a recipe lists many chops, batch mentally: garlic, herbs, and veg often share the board. Keep your camera steady so you do not miss the prompt. High FPS and unlocked frame caps make chop and mix feedback feel tighter on PC—see Controls.
Mix
Mixing stations combine prepped items into sauces, batters, or bases. Follow the on-screen motion; rushing past the sweet spot fails the mix the same way a short chop fails the cut. You can often start a Mix while a protein is already on Fry or Oven if you planned the overlap. Mixing while staring at a full cook bar is how sauces get forgotten and tickets bounce.
Oven Cook
Oven dishes use a progress meter. The quality window is not “wait until full.” Community timing centers on the halfway region—roughly the mid bar, often cited around the mid-to-high 50% range when the bar first feels “ready” or gives a subtle wiggle. Pulling too early serves raw food. Pulling too late burns it. Both invite Ramsay insults and sent-back plates.
Babysit ovens. If you start a long bake, use the wait to Chop, Mix, or Assemble another ticket component, then return before the bar overshoots. Time Machine power-ups compress this window—only buy them when you can still read the faster meter.
Boil
Boil stations behave like timed cooks with liquid pots. Same rule: watch the meter, harvest near the halfway quality mark, and never AFK beside a rolling pot during Fire Outbreaks. Boil overflows pair badly with wildcards that already steal attention. If a fire blocks the pot, extinguish or path around per Wildcard Rounds, then recover the cook before it tips into burnt.
Fry
Fryers are the classic multitask bait. Drop the protein, immediately chop garnish or mix sauce, and return for the mid-meter pull. Leaving a chop on the board while fries blacken is a nomination speech waiting to happen. Fling Tool sabotage loves chefs locked in a fry animation—keep enough camera awareness to dodge or replate.
Blend
Blenders finish purees, soups, and emulsified components. Treat Blend like Mix with a stricter finish prompt: start it when upstream chops are done, and do not assume it “finishes itself” while you tour the dining room. A forgotten blend is an incomplete ticket even if the steak looks perfect.
Assemble
Assembly is the plating UI. Combine completed components in the required order. Open assemble only when pieces are actually ready; staring at an empty assemble menu while ovens burn is a beginner trap. Some players open the assemble panel while walking to the pass to shave a step—practice until it feels natural, then Serve immediately.
Missing a component (“Where’s the lamb sauce?”) fails the plate. If the ticket still shows an undone icon, you are not ready to Serve.
Serve
Carry the finished dish to the service point / pass. Serving is the score stamp: timing, accuracy, and completeness convert into points that feed the team average. After a successful Serve, glance at the next ticket before celebrating. In dinner service the queue never cares that your last plate was perfect.
Timing meters and the halfway rule
Almost every heat-based station uses a progress meter. Quality peaks near the middle of the cook, not the end. Practical rules:
- Start the cook, note the halfway visual, and set a mental alarm.
- Use dead time on Chop/Mix/Blend for other tickets.
- Pull on the quality window; ignore the temptation to “just a second more.”
- If the bar is already past safe, cut losses and Serve only if the ticket still beats an empty hand—sometimes a mediocre plate beats a full burn and a zero.
Hunt-style challenges and high scores reward consistent mid pulls. Five clean mid pulls beat two perfect plates and three ashes.
Multitasking without chaos
True speed is overlapping waits, not spinning in circles.
- Collect all Pantry/Fridge items for ticket A.
- Start the longest cook first (Oven/Fry/Boil).
- Chop and Mix while that meter climbs.
- Pull at halfway, Assemble, Serve.
- Only then fully commit to ticket B’s irreversible heats.
Never start three fries if you can only watch one. Power-ups from the Tier List Hub change the math: Time Machine demands sharper pulls; Blackout on the enemy kitchen is your chance to Serve while they fumble.
Accuracy scoring, insults, and sent-back dishes
Scores reward correct ingredients, complete station steps, cook quality, and speed. Truncated chops, skipped mixes, raw centers, and burnt edges carve the number down. Gordon’s voice lines are feedback: raw and burnt callouts mean your meter reading failed. Sent-back dishes waste the entire route—you spent the ingredients and the clock for zero customer value while the other team plated.
If a plate comes back, do not tilt into sabotage. Reset the ticket path, slow your pulls by a half-second, and stabilize. Nominations love the chef who burns twice in a row while typing excuses.
Station etiquette on shared kitchens
Call your fryer. Rotate boards. Do not camp Assemble. If Imposter mode disables a station, announce it and reroute—see Wildcard Rounds. During Fire Outbreaks, extinguish or path before heroically “finishing one more chop” in a burning corner.
Practice plan
- Run Standard until halfway pulls are automatic.
- Watch one full walkthrough (embedded above) focusing only on meter releases.
- Play a Difficult lobby to remove crutch power-ups.
- Review Minigames so XP rounds do not feel like downtime.
- When votes start mattering more than garnish, graduate to How to Win.
Master Pantry through Serve as a single circuit, treat the halfway mark as law, and multitask only as many heats as you can honestly watch. That is how you stop feeding Ramsay ammo and start feeding the pass.
Frequently Asked Questions
Quick answers for chefs fighting through Hell's Kitchen 3.
When should I take food off the oven, fryer, or boil station?
Aim for the halfway quality window on the progress meter—roughly mid bar—not when the bar is full. Too early is raw; too late is burnt.
What happens if Gordon sends a dish back?
A sent-back plate wastes the time and ingredients you invested and hurts your score. Reset the ticket carefully and correct the meter timing instead of rushing another burn.
Can I cook multiple tickets at once?
Yes, but only overlap waits you can monitor. Start the longest cook, use Chop/Mix time productively, then pull on time. Starting more fries than you can watch causes burns.
Do I always need both Pantry and Fridge?
Follow the ticket. Some dishes lean pantry-heavy, others fridge-heavy. Grab only highlighted ingredients, then move to Chop or the next required station.